KeyMapper - reprogram any keyboard!
Free yourself from the tyranny of QMK and complex tools to remap keyboards! Improve ergonomics! Bring the magic of layers to the masses!
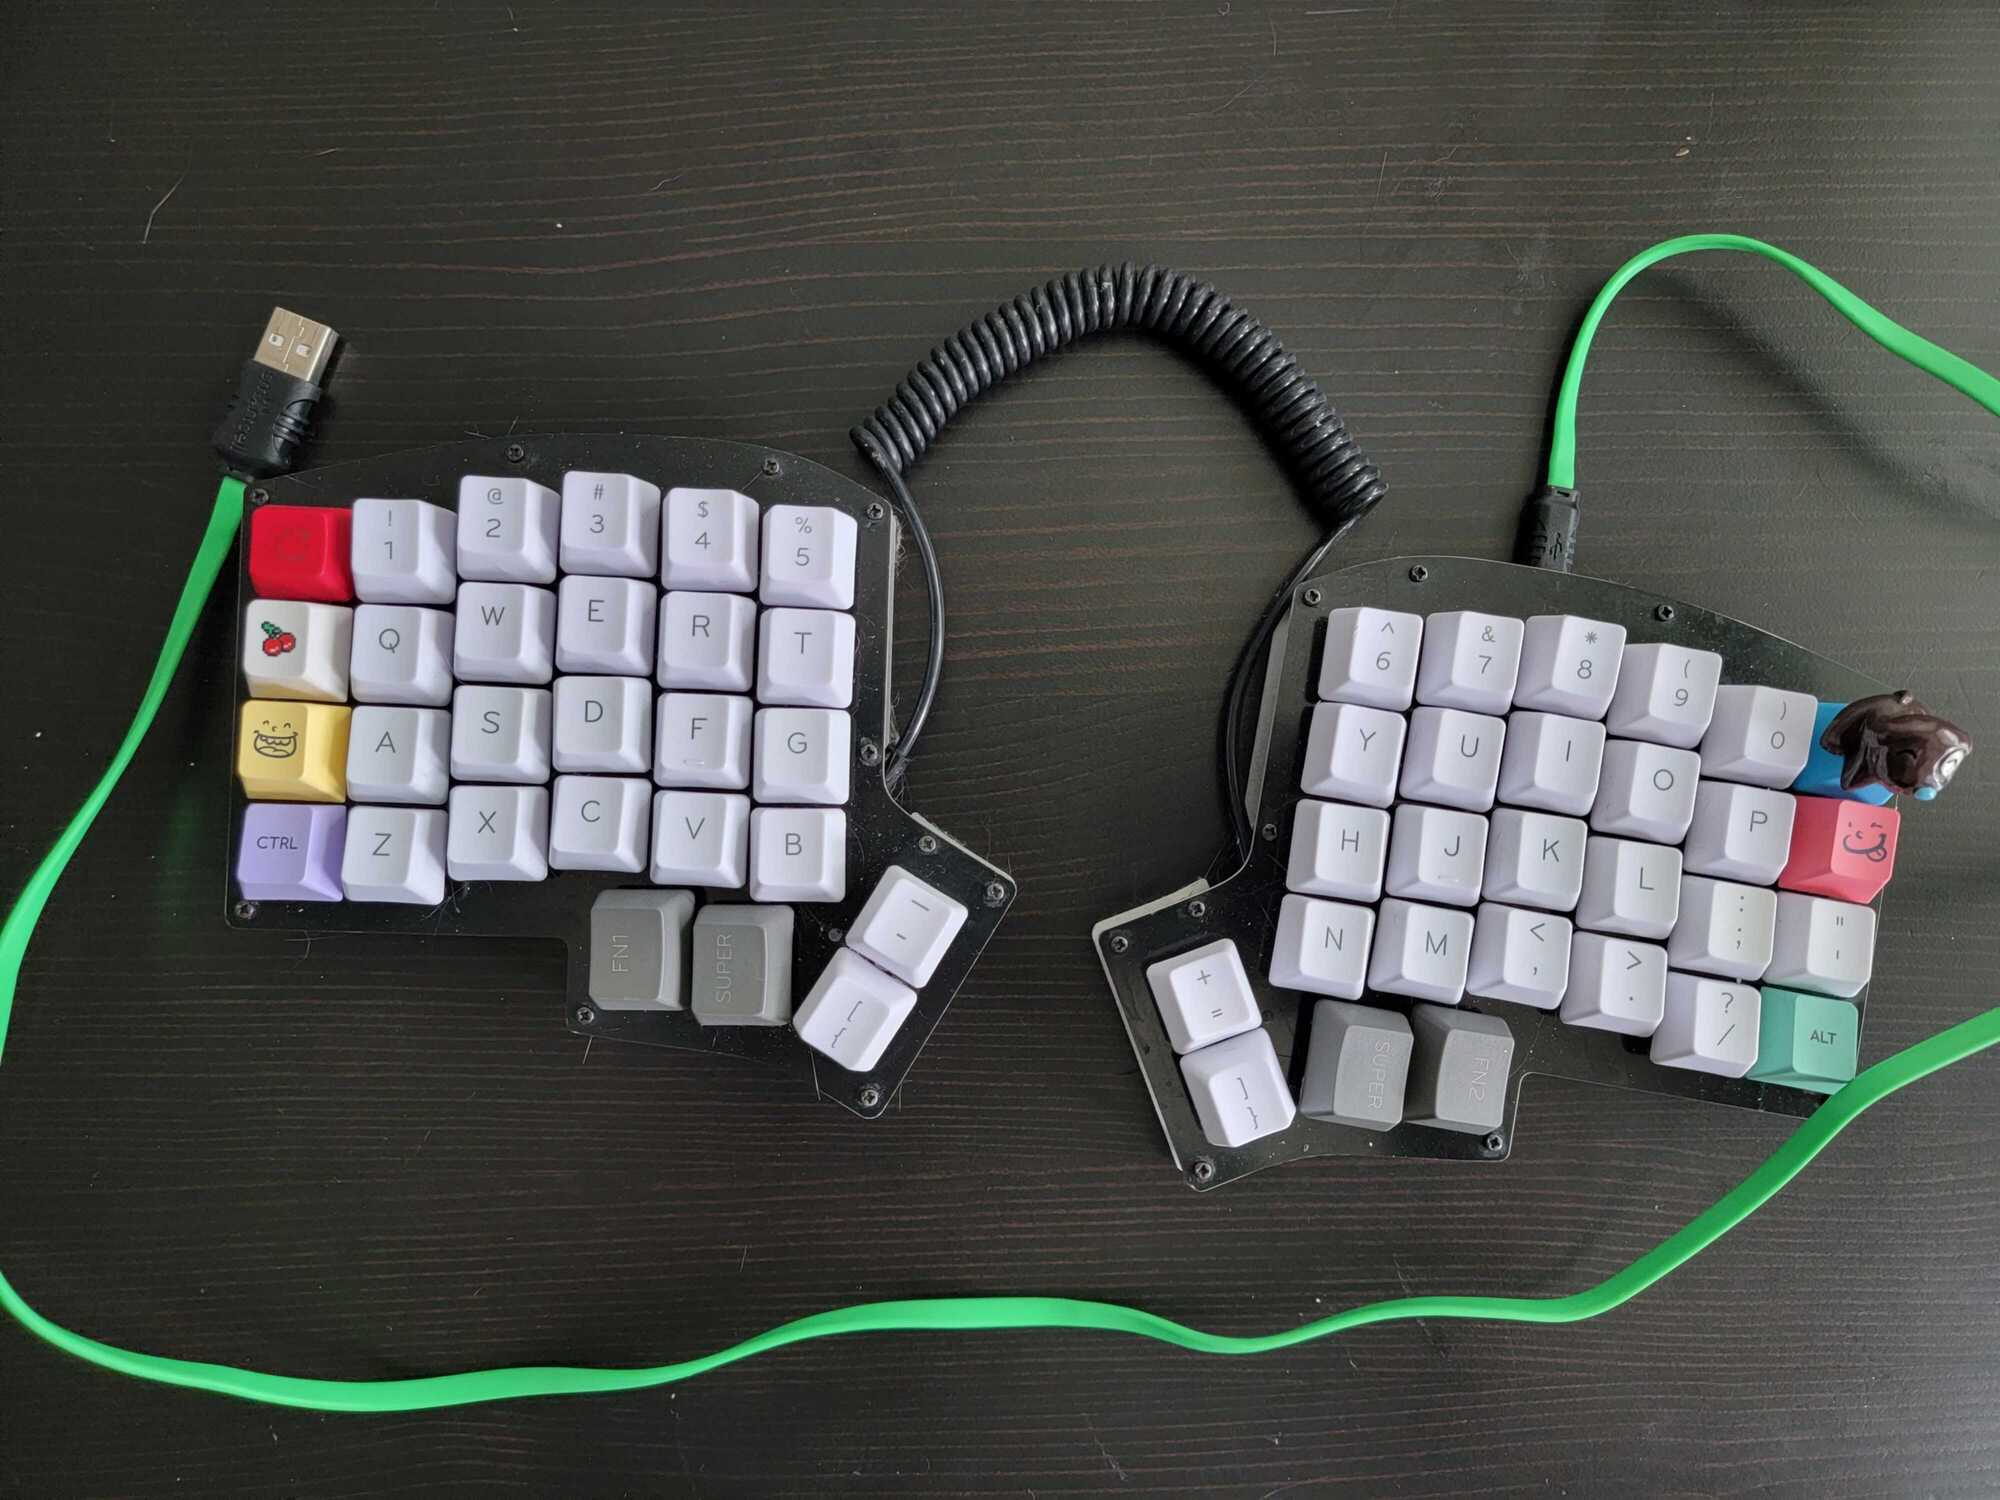
I like keyboards. A large portion of my day is spent using them, so I naturally have a few opinions on them. And it turns out a lot of people do! The keyboard enthusiast community is pretty big and in the last few years, it seems like it’s hit the mainstream. My daily driver at home, is this Iris v2:

I’ve used this keyboard for 5 years! Absolutely love it!
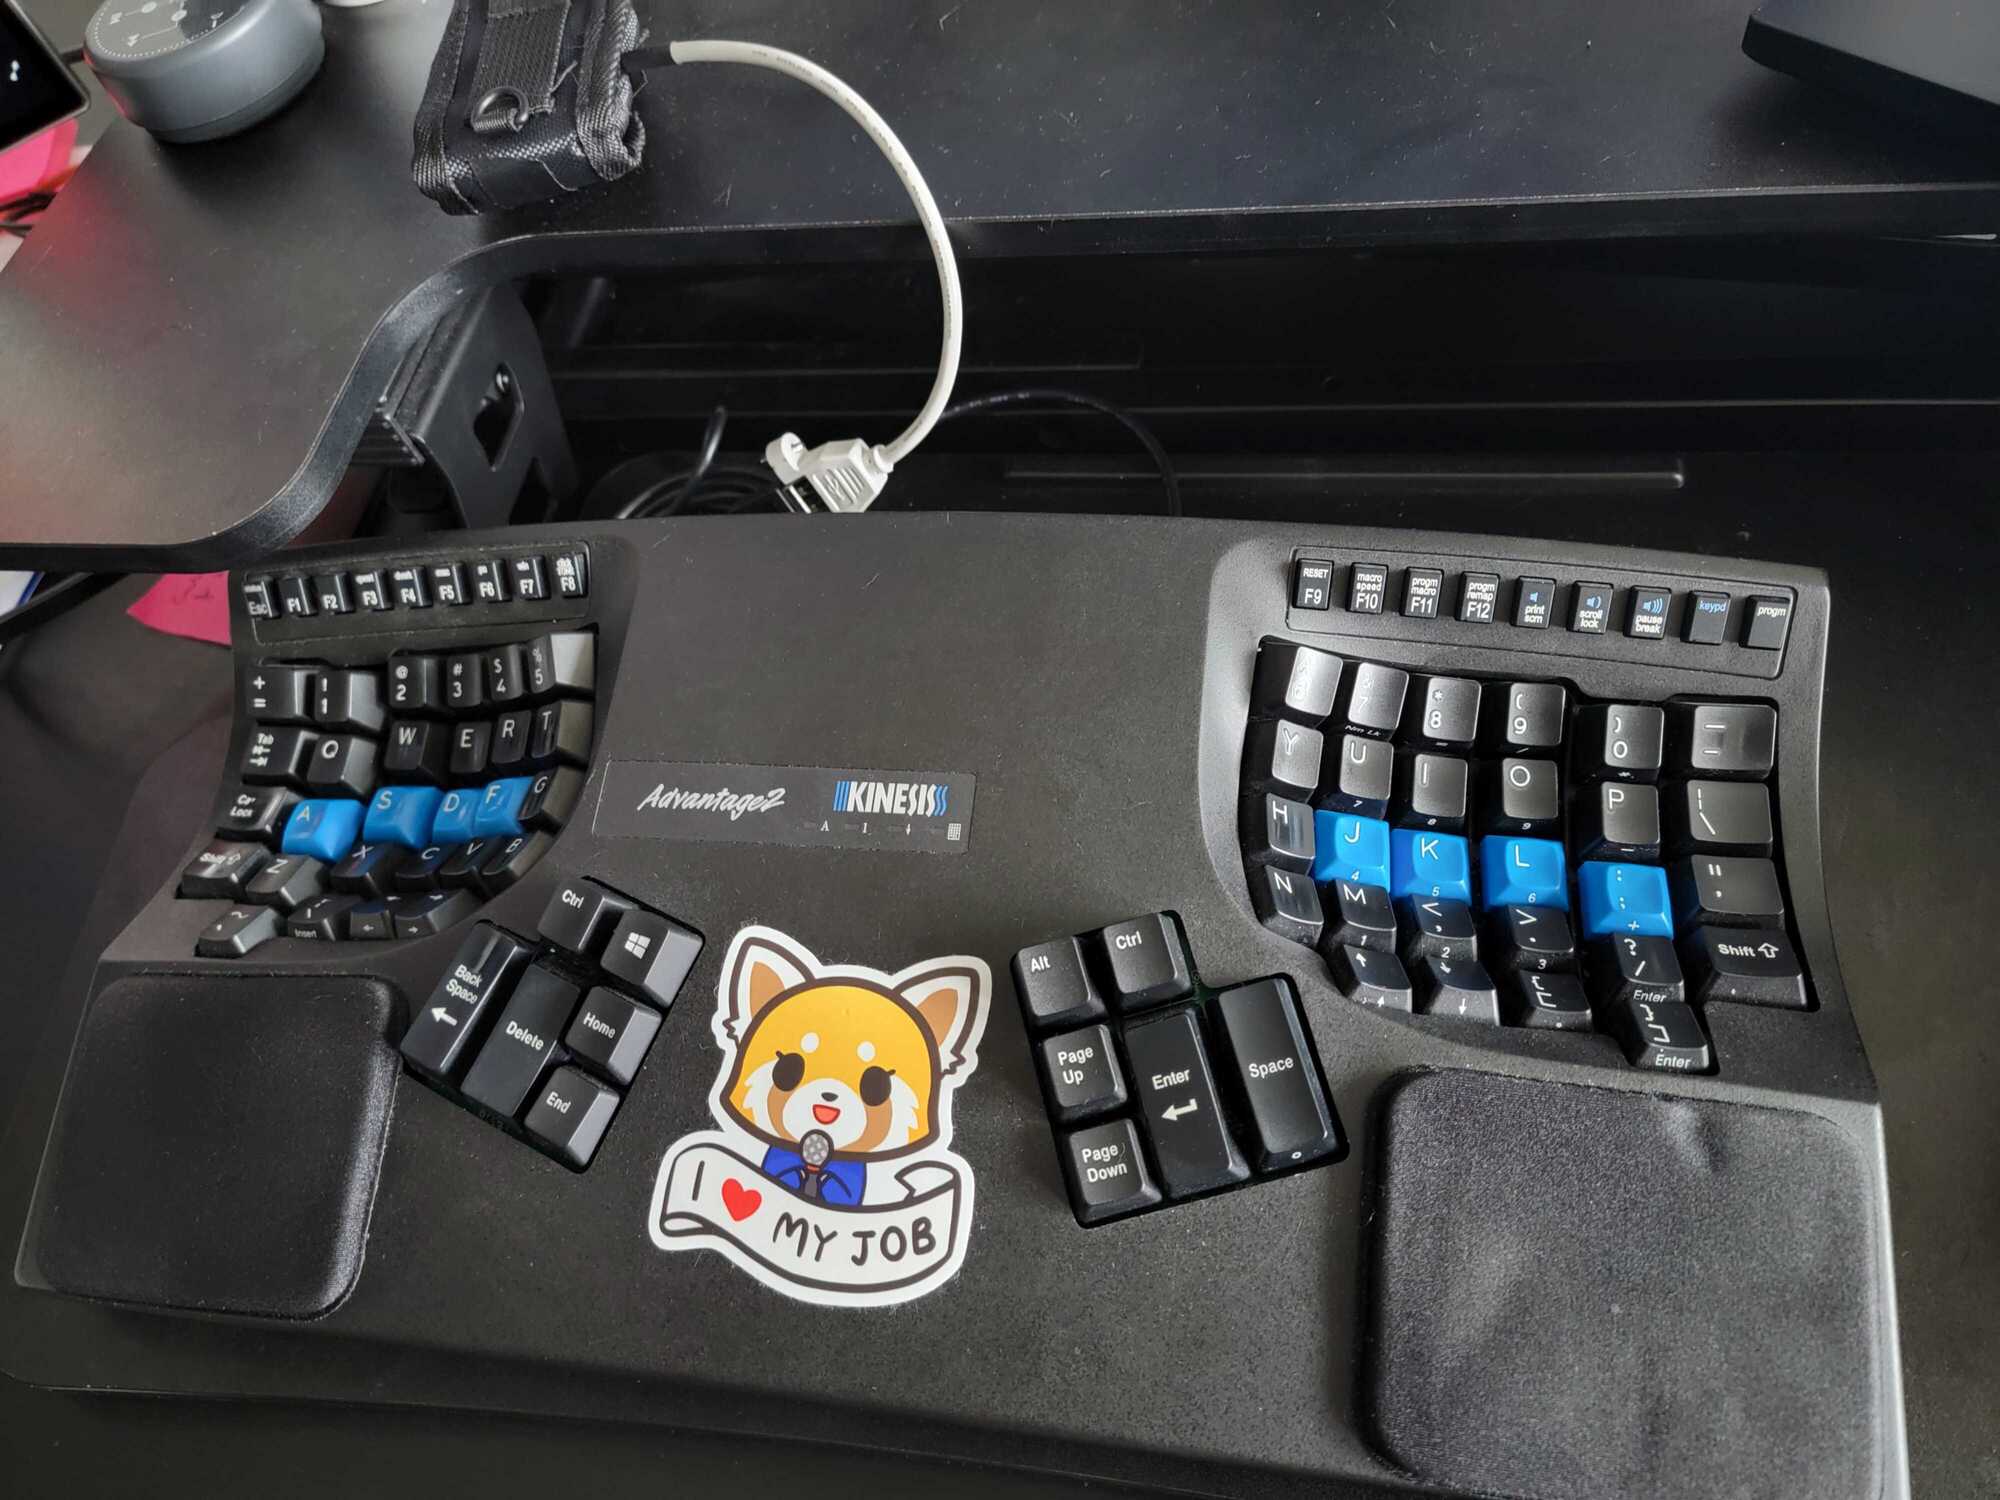
However, at work, I had the opportunity to expense a keyboard to the company, so I bought a Kinesis Advantage 2 (only to immediately realize that they now make a split version of the keyboard - and that the new one uses ZMK!!!).

we stan retsuko in this household
I actually really like the kinesis. The contoured shape is nice, and the larger thumb cluster is pretty cool too. I didn’t really like the original layout of the keys, so I remapped it using the onboard remapping tool. That was nice, but after I while I wanted more complex remappings - what I really wanted was layers. Additionally, the keyboard could not emulate a mouse, and I occasionally like being able to move the cursor with my keyboard, or to at least send “click” and “rightclick” events.
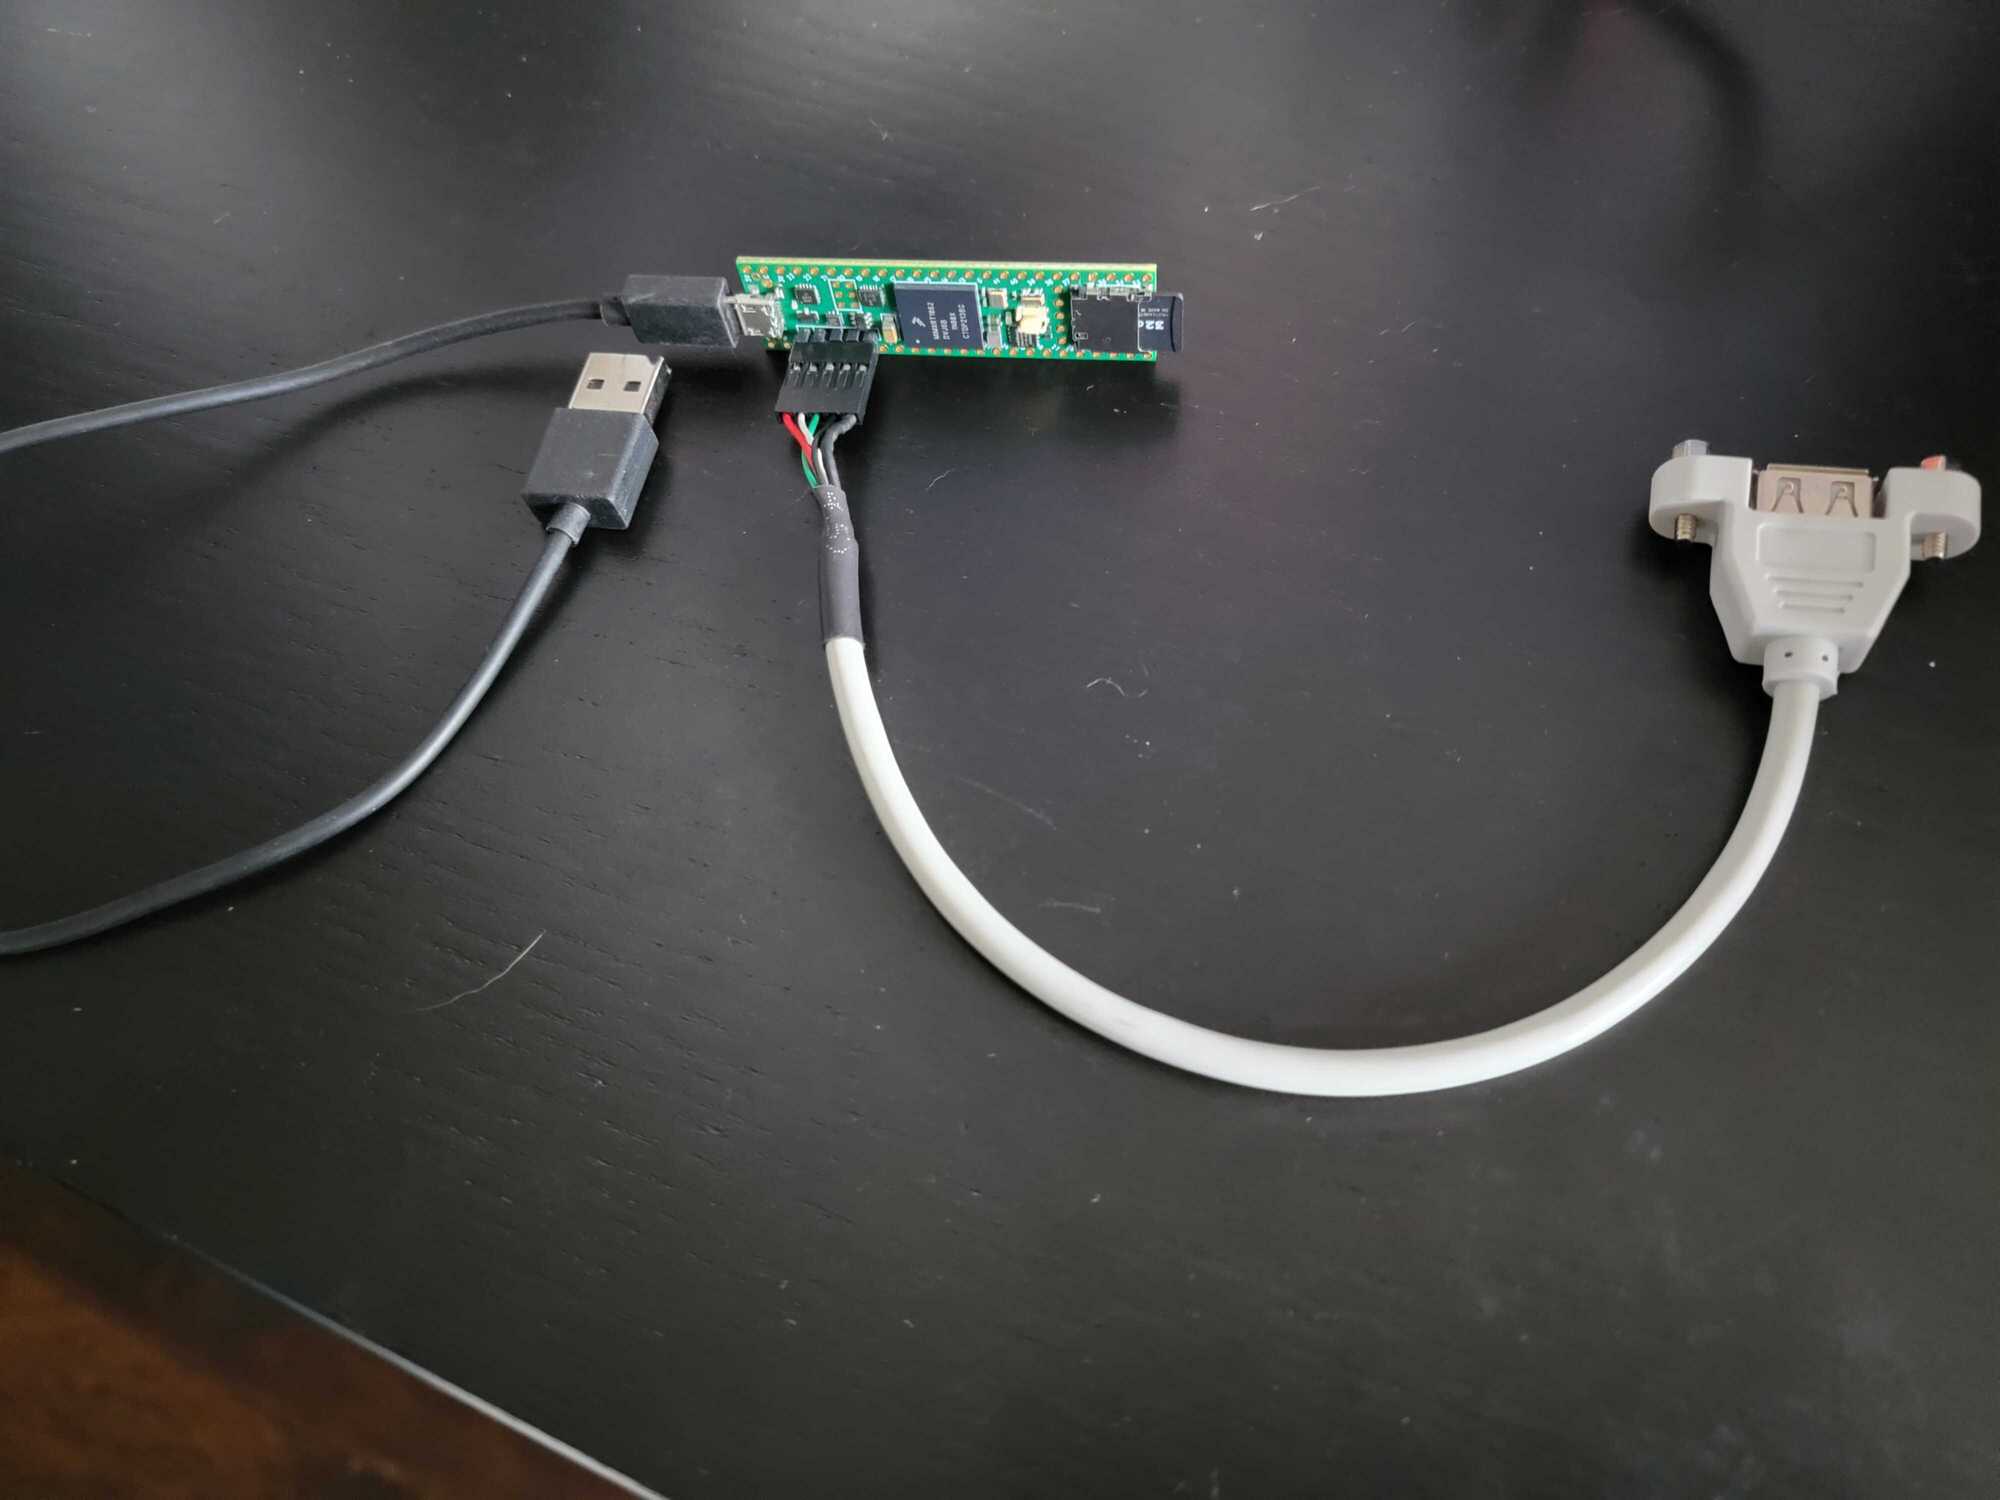
Poking around the kinesis configuration tools, I found that I could use macros to kinda simulate layers, but the process of programming the keyboard started to become tedious. It also didn’t really do what I wanted perfectly. The whole experience felt so much clunkier than using QMK on my Iris. However, editing the config as a plaintext file instead of having to recompile the keyboard’s firmware was so nice. This made me start thinking about designing my own solution. Enter, the KeyMapper:

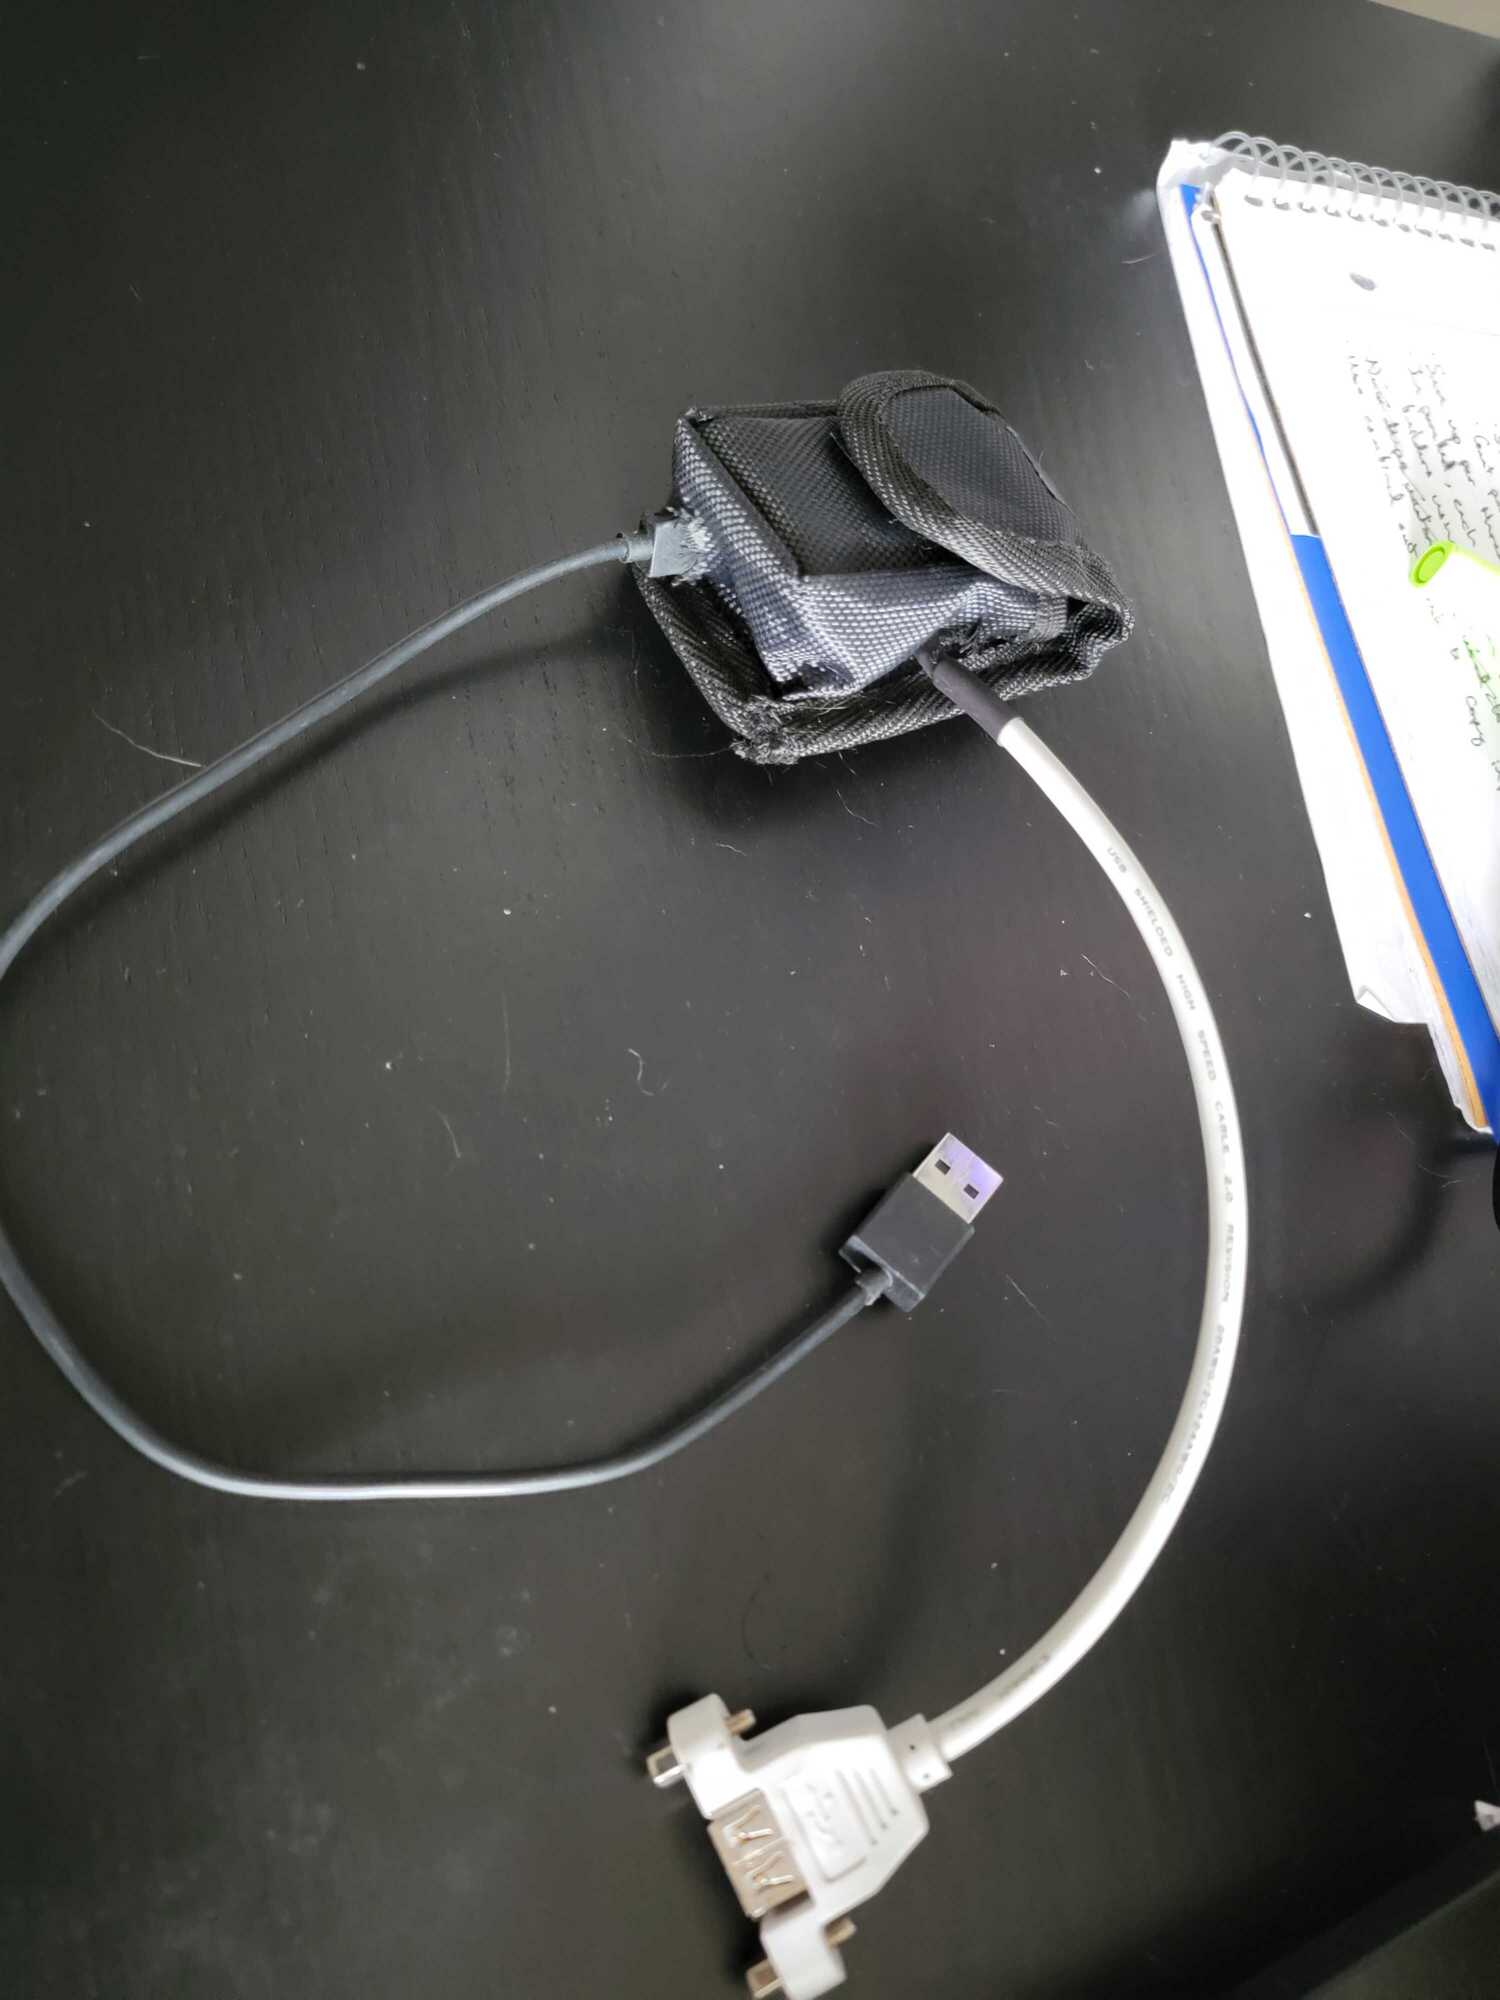
in actual use, I put it in a little case I made out of a pouch that was original for a camping stove.

KeyMapper
The general idea of the project is to have an microSD card containing a human
readable and editable configuration file. This microSD is then inserted into a
teensy4.1 which is running KeyMapper a service that intercepts keyboard events
received from the USB device port on the board, and translates them to whatever
the config file specifies before sending those keystrokes out over the teensy’s
micro USB port. The teensy was chosen for this project because it has both USB
breakout pins to connect USB peripherals, and it also has a built in SD card
reader.
The key feature that I absolutely needed was layers, which is supported. Mouse emulation is also supported. I’ve been actually using this solution for almost a year, and it’s been a great experience overall.
You can find the source code for the firmware here
The config
Here’s the config from the example in the repo:
File: config/layer0.txt
  # Lines starting with '#' are comments
  # The format of this file is `ORIGINAL_KEY SPC* MAPPED_KEY`
  #   where SPC is a literal space (' ')
  #   see ../keys_xlist.h and ../mouse_xlist.h for the names of keys/mouse actions

  # layer_1 and layer_2 tell KeyMapper to swtich to layer1 or layer2. If both
  # layers are activated simulatenously, then layer3 is activated.

  MODIFIERKEY_RIGHT_SHIFT layer_1
  MODIFIERKEY_RIGHT_CTRL  layer_2

  # Any keys not defined in a layer will fall through to the layer below. Keys
  # that fall past layer0 will be sent directly to the host

File: config/layer1.txt
  KEY_G         KEY_LEFT_BRACE
  KEY_H         KEY_RIGHT_BRACE
  KEY_A         KEY_LEFT
  KEY_S         KEY_DOWN
  KEY_D         KEY_UP
  KEY_F         KEY_RIGHT
  KEY_EQUAL     KEY_TILDE
  KEY_BACKSLASH KEY_EQUAL

File: config/layer2.txt
  KEY_S KEY_MEDIA_NEXT_TRACK
  KEY_A KEY_MEDIA_PREV_TRACK
  KEY_X KEY_MEDIA_PLAY_PAUSE
  KEY_V KEY_MEDIA_MUTE
  KEY_R KEY_MEDIA_VOLUME_INC
  KEY_F KEY_MEDIA_VOLUME_DEC

File: config/layer3.txt
  KEY_Y      MOUSE_BTN1
  KEY_I      MOUSE_BTN2
  KEY_M      MOUSE_BTN3
  KEY_U      MOUSE_M_UP
  KEY_J      MOUSE_M_DOWN
  KEY_H      MOUSE_M_LEFT
  KEY_K      MOUSE_M_RIGHT
  KEY_O      MOUSE_SCROLL_UP
  KEY_L      MOUSE_SCROLL_DOWN
  KEY_COMMA  MOUSE_SCROLL_LEFT
  KEY_PERIOD MOUSE_SCROLL_RIGHT
One thing to note is that there’s a hardcoded limit of 3 layers. For my usecases, that is sufficient. To reprogram the keyboard, remove the SD card, edit the config files, insert the SD card, unplug the keyboard, and plug it back in.
Implementation details
When implementing this I found a header in the teensy’s keyboard library containing enums for all key names and all mouse event names. That was great, but now I needed to write code that could loop over all those enums, and I also needed some kind of reflection to be able to convert enum names to strings to parse the config. I’ve previously written about using X lists for reflection on this blog and I using a similar technique here and define an X list containing all key codes and another for all mouse actions. This also let me write this piece of code:
#define X(mouseaction)  + 1
const size_t NUM_MOUSE_ACTIONS = 0
#include "./mouse_xlist.h"
                                 ;
#undef X
while allows me to count the number of mouse actions into a variable that is known at compile time. This is important because I use this variable to create statically allocated bitmasks to represent the current state of all mouse actions.
All of the keypress re-mapping is implemented by just doing some basic bitshifts of the original keypress values and using those to index into some statically allocated arrays that contain the remapped values.
Conclusion
This was a really fun project to work on! What’s even more fun is that this has tangibly impacted my quality of life. The ability to easily edit files to change the config has been super helpful. The next step would be to try to improve the ergonomics if possible by somehow exposing the SD card to my host machine through the teensy, or maybe having a screen on the device and a way to enter an editor mode or something. I’d also like to make it possible to switch between multiple config files so that I can use this for multiple keyboards and have similar configs across all of them without having to reprogram them via QMK.
