Camera Theremin
This post details how I made the CameraTheremin. I hope you find it useful.
Table of Contents
- The motivation
- Getting webcam input with getUserMedia
- Image processing using canvas
- Audio generation
- Conclusion
The motivation
I’ve always thought that one of the coolest instruments in the world is the Theremin. What other instrument can you play without touching it? However, Theremins cost around $300 and as a non-musician who just wants to try it out for the sake of novelty, that’s a bit pricey. That being said, I still wanted to try one and decided to recreate the experience in my browser using JavaScript and getUserMedia+Tone.js (my initial approach was to use python and openCV+pyo, but I later abandoned that for a variety of reasons, most notably the fact that it required a user to install python and all the required packages, as opposed to opening a URL).
So, what do we really need to recreate a theremin-like experience? We need:
- Something to control the pitch
- Something to control the volume.
I felt like proximity to the camera would be a rather novel and fun experience to play with, so I decided to use that to control the pitch, while volume would be controlled by the horizontal movement.
Getting webcam input with getUserMedia
Getting webcam input with getUserMedia is a snap. All it took was the following lines:
var video = document.getElementById("vid");
var constraints = {
    video: {
        mandatory: {
	        maxWidth: 320,
            maxHeight: 180
        }
    }
}
navigator.getUserMedia(constraints, startStream, function(){});
function startStream(stream){
    video.src = URL.createObjectURL(stream);
    video.play();
}
The call to getUserMedia takes 3 arguments, the constraints, a success callback, and a error callback.
You can see here that I’ve not actually defined a error callback, but instead left an empty function in its place.
On successfully obtaining the webcam stream, this is sent to the startStream function which puts my webcam stream into an HTML video object.
Now it’s time to start processing the obtained frames.
Image processing using canvas
In order to modify and edit the image data, I had to first draw the obtained frame from the video to a canvas element. To do this, I used added the line requestAnimationFrame(draw) at the end of my startStream function which tells the browser to call the function draw before refreshing the display.
The function draw does the following:
- A function which converts the video to canvas data
- Function calls which handle the image processing
- Put the image data back into the canvas
- call
requestAnimationFrame(draw)so that the next frame can be processed.
To accomplish (1), I have the following function:
function readFrame(){
    try{
        context.save();
        context.scale(-1, 1);
        context.drawImage(video, -width, 0, width, height);
        context.restore();
    } catch(e){
        console.log(e);
        return null;
    }
    return context.getImageData(0, 0, width, height);
}
By using context.scale(-1, 1), I am able to mirror the video input so that the displayed feed seems more natural to the user. This returns an array of the image data. The return data is a 1-d array of RGBA values and thus to access the pixel at coordinates (x, y), I must access the following indices:
    var redIndex = 4*(y*width+x);
    var greenIndex = redIndex+1;
    var blueIndex = redIndex+2;
    var alphaIndex = redIndex+3;
Conversely, given an index which satisfies the property index%4 == 0 (i.e. the index is the starting of a pixel) I can obtain the (x, y) coordinates as follows:
    var x = index%width;
    var y = index/width;
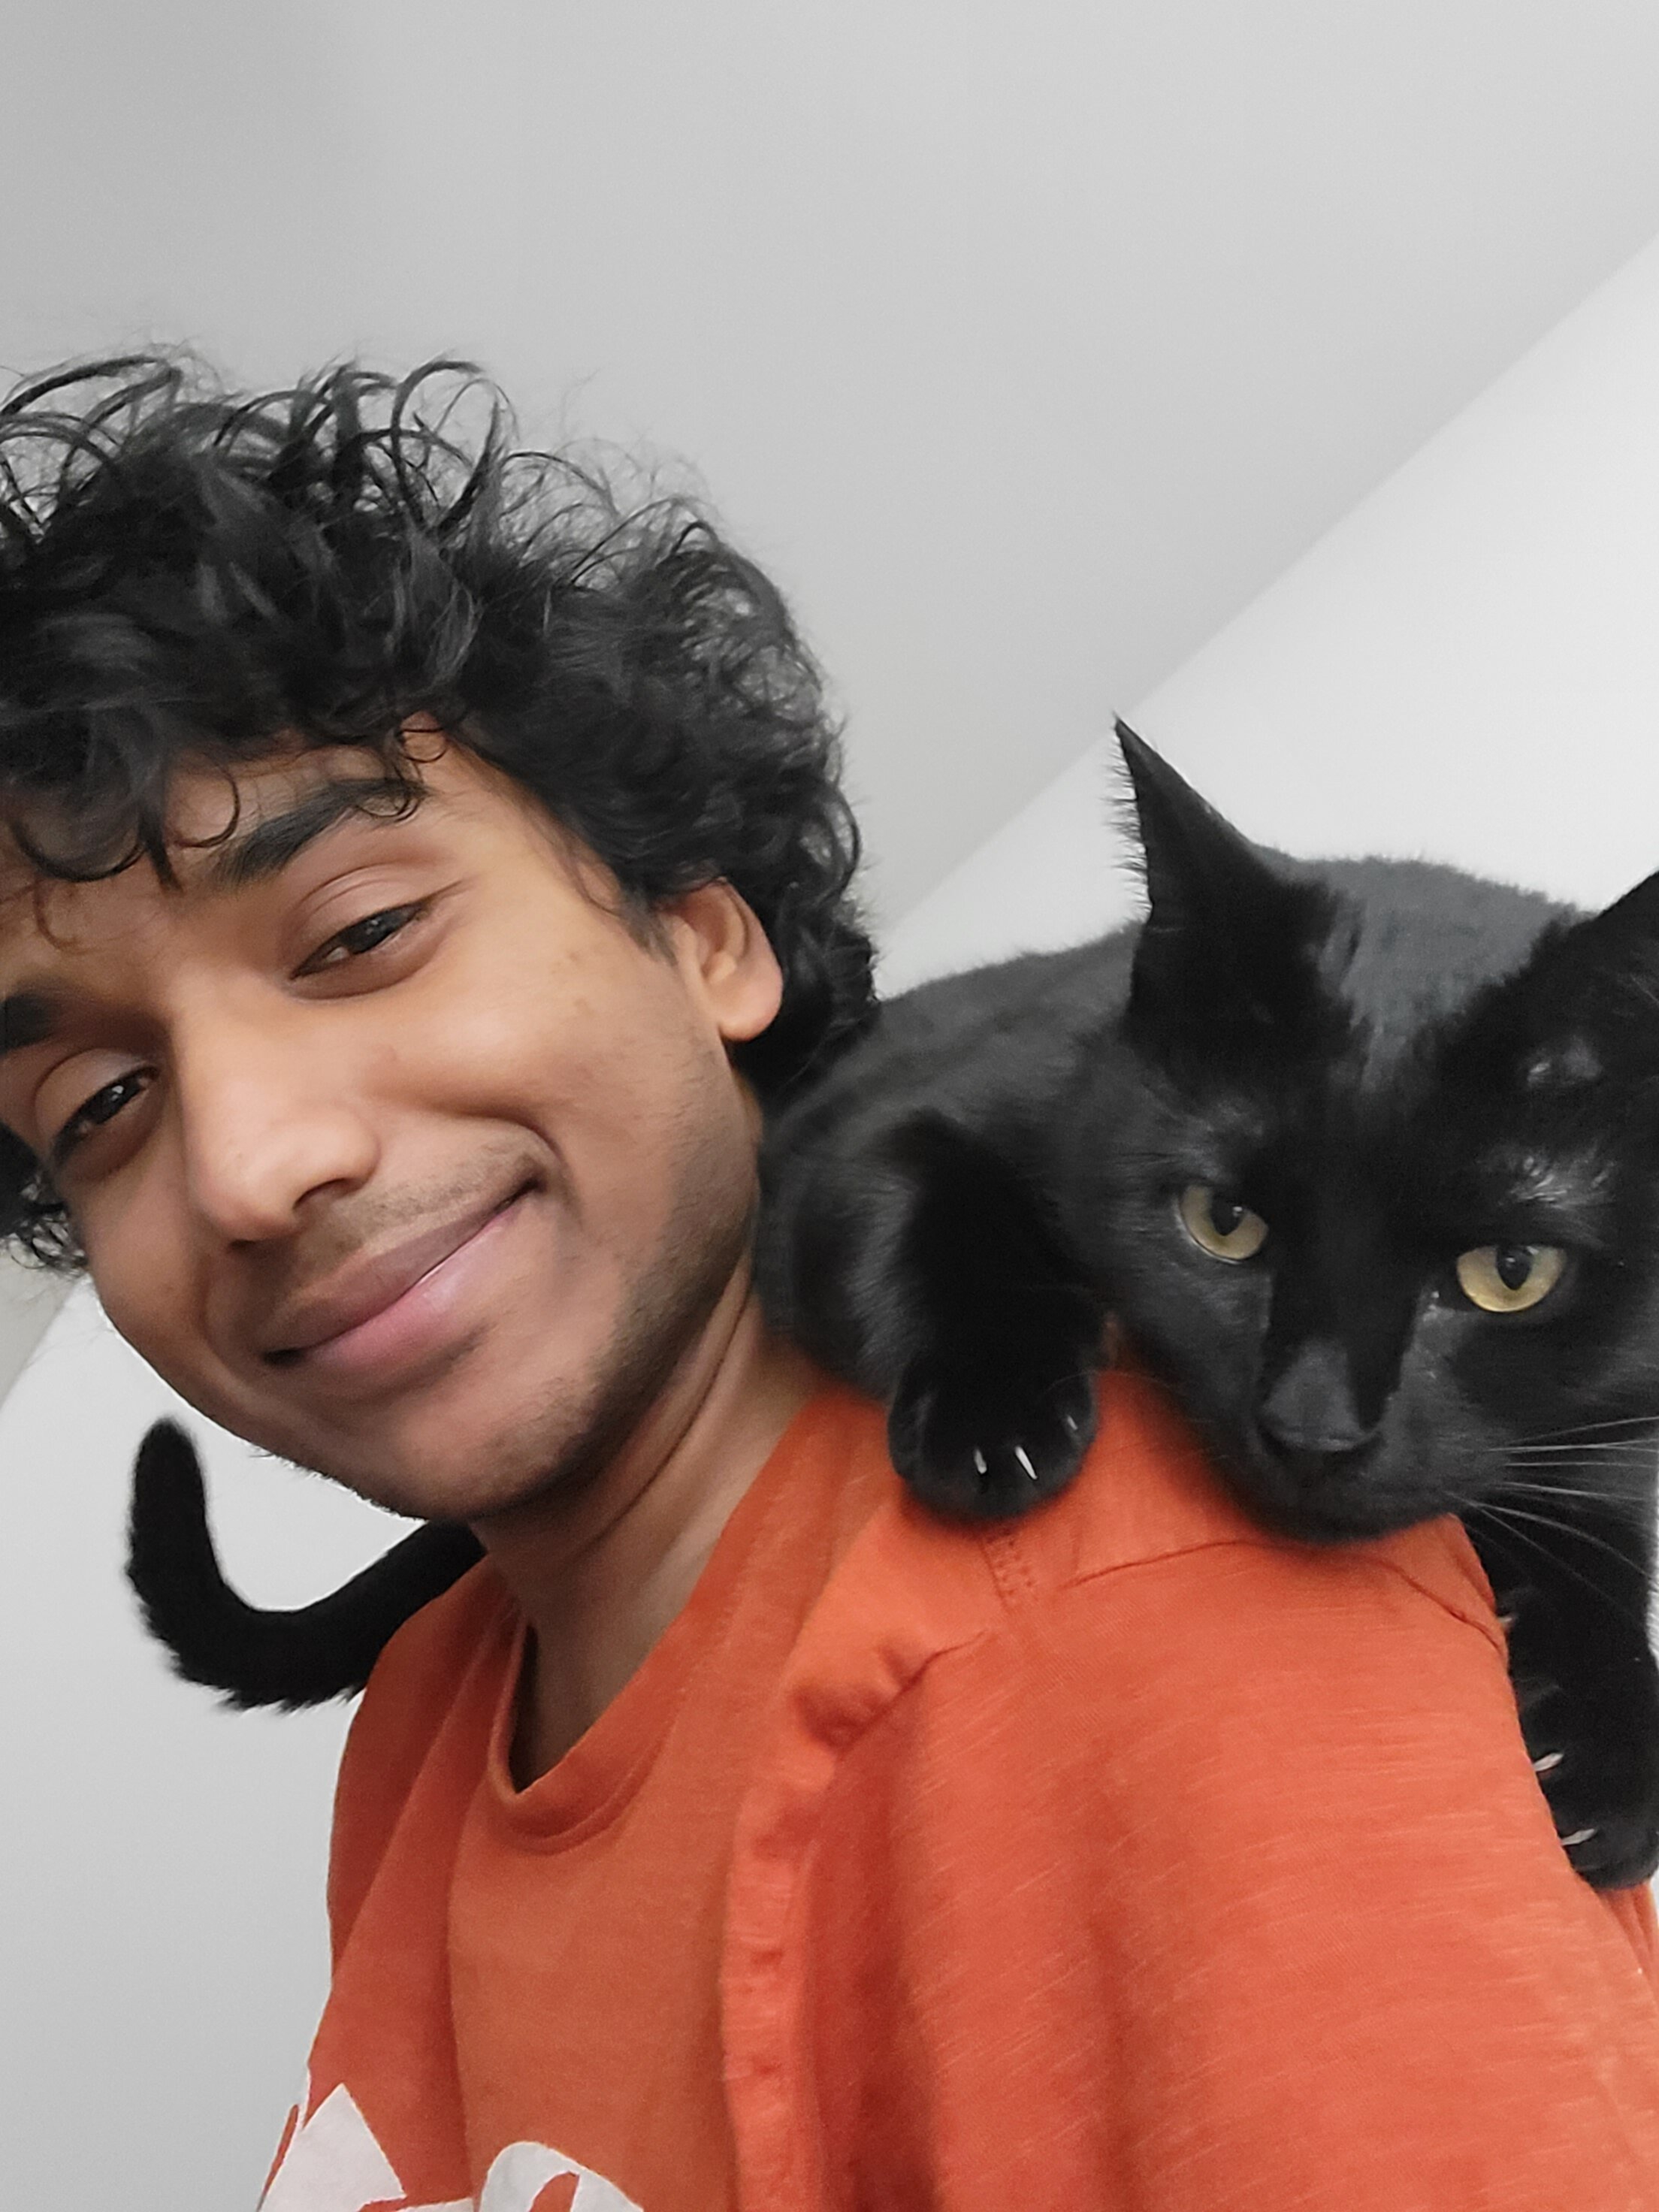
Moving onto (2), in order to detect proximity, I first separated the foreground from the background and then used the area of the foreground as a measure of distance. This works because as objects are moved closer to or further from the camera, they take more and less area respectively as shown below with my finger as the object:
Closer

Further
In order to separate the foreground from the background, I created two methods, which you can switch between, depending on which is more suitable for you lighting and surrounding conditions.
In both methods, the obtained frame was first converted to gray scale:
function bgr2gray(data){
    for(var i = ys; i<ye; i++){
        for(var j = xs; j<xe; j++){
	    var k = 4*(i*width+j);
	    var lumin = 0.21*data[k]+0.72*data[k+1]+0.07*data[k+2];
	    data[k] = lumin;
	    data[k+1] = lumin;
	    data[k+2] = lumin;
        }
    }
}
then blurred to improve accuracy by convolving a hardcoded blur kernel with the image data.
You may notice the fact that I’ve used the limits ys, ye, xs, xe in my for loops as opposed to 0, height, 0, width. This is due to my crop function, which I’ll talk more about later. As the name implies, it crops the image to specified boundaries, only processing selected parts of the image.
Proximity detection Method 1
Thresholding
This method is rather simple and uses the following function:
function threshold(data, thresh, a, b){
    for(var i = ys; i<ye; i++){
        for(var j = xs; j<xe; j++){
	     var k = i*4*width+4*j
             if(data[k]>thresh){
                 data[k] = a;
                 data[k+1] = a;
                 data[k+2] = a;
             }
             else{
                data[k] = b;
                data[k+1] = b;
                data[k+2] = b;
	        }
        }
    }
}
threshold takes 4 arguments, the image data, a threshold value, and two replacement values (representing color intensity) to create the binary image.
This function assumes that if the intensity of a certain point is greater than a certain threshold, it must be part of the background, and thus transforms the grayscale image into a binary image.
Proximity detection Method 2
Binary background subtraction
This method requires me to first save an initial frame containing what I consider to be the background. Note that this will include regions which would otherwise be detected to be the foreground by the thresholder, but that is irrelevant to my usage.
Once I have my initial frame, I can subtract that from subsequent frames to obtain a binary image containing only the difference between the current frame and the initial frame. This is achieved with the following code:
function binsub(data, thresh, a, b){
    var len = data.length;
    var xavg = 0;
    var counter = 0;
    for(var i = ys; i<ye; i++){
        for(var j = xs; j<xe; j++){
            var k = i*4*width+4*j
            var replace = true;
            if(Math.abs(data[k]-initialf[k])>thresh){
              replace = false;
            }
            if(replace){
                data[k] = a;
                data[k+1] = a;
                data[k+2] = a;
            }
            else{
                data[k] = b;
                data[k+1] = b;
                data[k+2] = b;
                xavg+=(k/4)%width;
                counter++;
            }
        }
    }
    xavg/=counter;
    if(counter<2000){
        xavg = 0;
    }
    document.getElementById("xavg").innerHTML = xavg;
    return xavg;
}
binsub takes 4 arguments, the image data, a threshold value, and two replacement values (representing color intensity) to create the binary image.
This function is very similar to threshold from Method 1, but instead of testing the value of a pixel itself, it tests the absolute value of the difference between the intensity at a point, and the intensity at the corresponding point in the initial frame (initialf).
Note that binsub also returns xavg which represents the average x-coordinate of all “foreground” pixels. This is useful to change the volume.
This is absent from Method 1, as the thresholeded image will contain other objects which skew the x-coordinate and doesn’t allow for accurate control over volume.
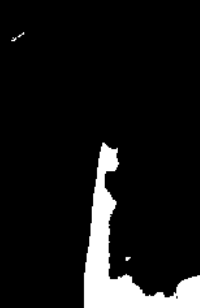
Regardless of whether I used Method 1 or 2, I now need to extract the proximity from the binary image and use this to generate an audio output. To do this I ensured that the replacement values a, b in both binsub and threshold are set to 0, 255 respectively. This sets foreground pixels to white and background pixels to black. I then made a function called countWhite which is as follows:
function countWhite(data){
    var ret = 0;
    for(var i = ys; i<ye; i++){
        for(var j = xs; j<xe; j++){
            var k = i*4*width+4*j
            if(data[k]==255){
                ret+=1;
            }
        }
    }
    return ret;
}
This counts the total area of all white pixels. The resulting value is then scaled between the max and min values (which are set during a calibration sequence, more details can be found in the readme of my github repository) to obtain a value to send to Tone.js as shown below:
scaled = scale(white, cont, xpos);
//sends frequency to synth
if(min<0||max<0||white<0)
    //sends a volume of -100 to indicate an error
    scaled = playSynth(0, -100);
else
    scaled = playSynth(scaled, xpos);
--------------------------------------------------
function scale(num, mode, vol){
    if(min<0||max<0||num<0){
        return num;
    }
    var high = max-min;
    var sf = 220/high;
    var ret = (sf*(num-min)+220)*1000;
    var ret = Math.floor(ret);
    var ret = ret/1000;
    if(mode){
        if(ret<=150)
            ret=0;
        else if(ret<=233.082)
            ret=220;
        else if(ret<=(246.942+261.626)/2)
            ret = 246.942;
        else if(ret<=277.183)
            ret = 261.626;
        else if(ret<=311.127)
            ret = 293.665;
        else if(ret<=(349.228+329.628)/2)
            ret = 329.628;
        else if(ret<=369.994)
            ret = 349.228;
        else if(ret<=415.305)
            ret = 391.995;
        else
            ret = 440;
    }
    return ret;
}
Now that my detection is done, it’s time to move on to (3), restoring the canvas data. Of course, this can be simply done with context.putImageData(frame, 0, 0), but I also wanted to add some form of visual indicator so that the user knows what note is being played. I decided to do this by adding a certain color to the original frame. To do this, I added the following two lines before the call to putImageData:
frame = readFrame();
increasedColor(frame.data, scaled);
Since requestAnimationFrame has not been called in between my initial call to readFrame and my call to readFrame here, the same frame will be returned, and I can edit it with increasedColor before drawing it.
function increasedColor(data, val){
    var temp = Math.abs(val-220);
        temp/=11;
    temp+=7;
    var f = 0.3;
    r = Math.sin(f*temp+0)*127+128;
    g = Math.sin(f*temp+2)*127+128;
    b = Math.sin(f*temp+4)*127+128;

    var len = data.length;
    if(temp!=0)
        bgr2gray(data);
    for(var i =0; i<len; i+=4){
        data[i] += r;
        data[i+1] += g;
        data[i+2] += b;
        if(data[i]>255)
            data[i]=255;
        if(data[i+1]>255)
            data[i+1] = 255;
        if(data[i+2]>255)
            data[i+2] = 255;
        if(playBack&&((i/4)%width>xs&&(i/4)%width<xe)){
            data[i]   = 255-data[i];
            data[i+1] = 255-data[i+1];
            data[i+2] = 255-data[i+2];
        }
    }
}
Audio generation
Now that the detection is done, I used Tone.js to play out notes of a certain frequency. This was done with the following function:
function playSynth(freq, vol){
    if(vol==-100){
        return;
    }
    if(!playing){
        synth.triggerAttack(oldfreq);
        playing = true;
    }
    if(!playBack){
        document.getElementById("freq").innerHTML = "Frequency: "+freq+" Hz";
        if(freq>0&&freq!=oldfreq){
            if(!cont)
                synth.frequency.rampTo(freq, 0.05);
            else
                synth.setNote(freq);
        }
        if(dobinsub&&volEnable){
            vol -= 80;
            vol/=12;
            if (vol<0){
                vol = 0;
            }
            if(vol>15)
                vol = 15;
                synth.volume.rampTo(vol, 0.07);
                vol = Math.floor(vol*100)/100;
                document.getElementById("vol").innerHTML = 'Volume: '+vol+' db';
            }
        }
        else{
            vol = 10;
            synth.volume.value = 10;
            document.getElementById("vol").innerHTML = 'Volume: 10 db';
        }
        if(record){
            recording.push([freq, vol]);
        }
    }
    else{
        if(tracking>=recording.length){
            startPlayBack();
            return;
        }
        var stepSize = width/recording.length;
        xs = Math.floor(tracking*stepSize);
        freq = recording[tracking][0];
        vol = recording[tracking][1];
        synth.frequency.rampTo(freq, 0.05);
        synth.volume.rampTo(vol, 0.07);
        document.getElementById("freq").innerHTML = "Frequency: "+freq+" Hz";
        document.getElementById("vol").innerHTML = "Volume: "+vol+" db";
        tracking++;
    }
    oldfreq = freq;
    return freq;
}
Most of this code is fairly self-explanatory and you can also see the recording/playback functionality as well. One interesting thing is that play back changes the cropped regions as it uses those values to display a progress animation while it plays. The original crop bounds are restored at the end of playback.
Conclusion
This was a fairly fun project to work on, though I’d say it’s still not done. I want to improve certain things such as the speed of the detection, the types of sounds that can be generated (e.g. make the Theremin sound like another instrument, or have it play chords), and the ability to change volume in both methods among others.
There are also some known issues such as the occasional crash due to overuse of memory in firefox (doesn’t happen on chrome) which need to be worked out.
You can find the code for the project here and try it out here. Feel free to fork the repository and play around with the code!