Building a keyboard (part 2)
From beyond the grave, I hear it’s call…. 4 years later, I return to a project with a renewed fire.
Four years ago, I started build a keyboard. I wrote about it back then. At the time, I thought I’d finish the project in a month or two, and I started by ordering some custom 3D printed plates to mount the project to instead of cardboard. The plates arrived, I realized I had the dimensions of the switches wrong, and figured that I should probably figure out how to do this right way, and maybe start by modifying existing designs instead of trying to speedrun it. Naturally, I figured that the next step was to buy a 3D printer. This added sufficient friction to the process that I dropped the project for the next 4 years, and kept the original cardboard prototype as a bookshelf decoration (until my partner made me take it down since it didn’t fit the “vibe”).
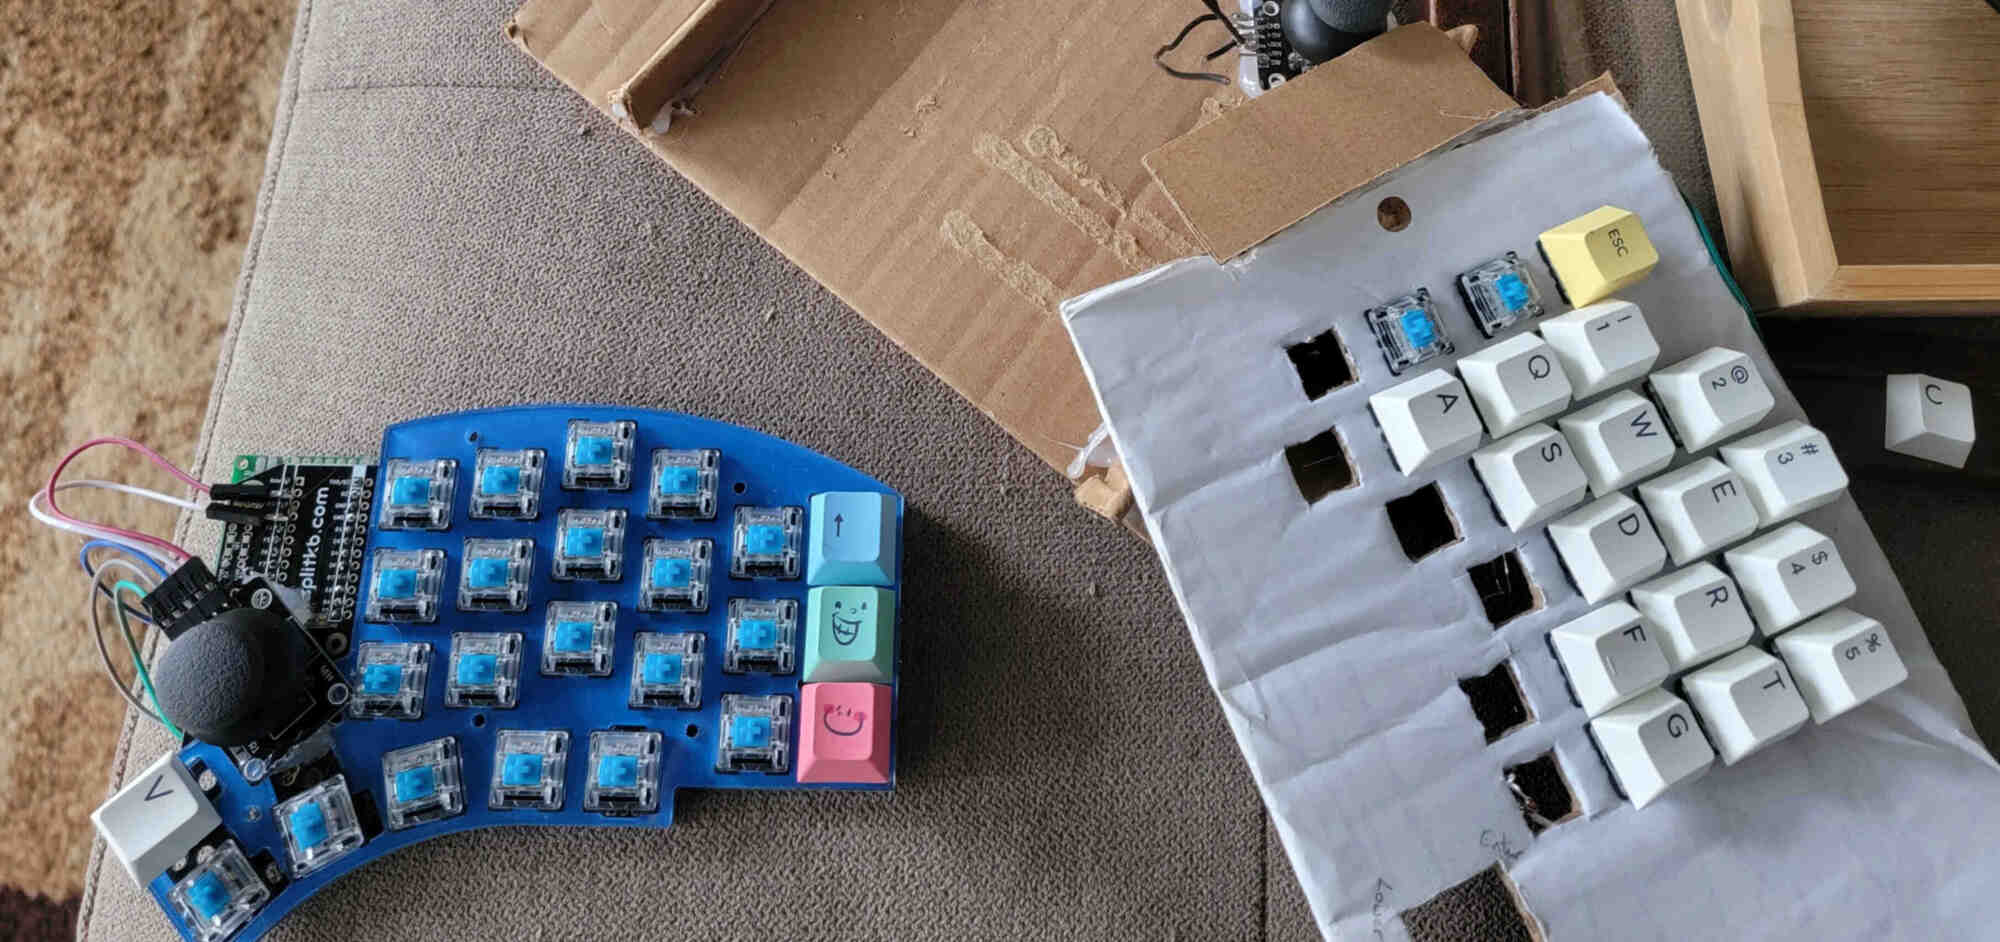
Recently, I noticed that I had an unbuilt kit for a kyria rev1 and realized that I could just use that instead of punting this project infinitely down the line. So, I made a version 2 of the prototype:

Words can’t describe how cool this feels. It looks way better than anything I could have imagined. Even my cat likes it! It was pretty fortunate that I started this projecting using a elite-c instead of an arduino pro micro clone because of the extra 4 pins at the bottom which aren’t used by the kyria PCB. In particular, two of those pins are analog capable, so I can read joystick inputs on them. VCC and GND on the joystick are connected directly to the elite-c.
It felt a little weird taking apart the old prototype to reuse the microcontroller and a few switches. Very “ship of Theseus”-core.

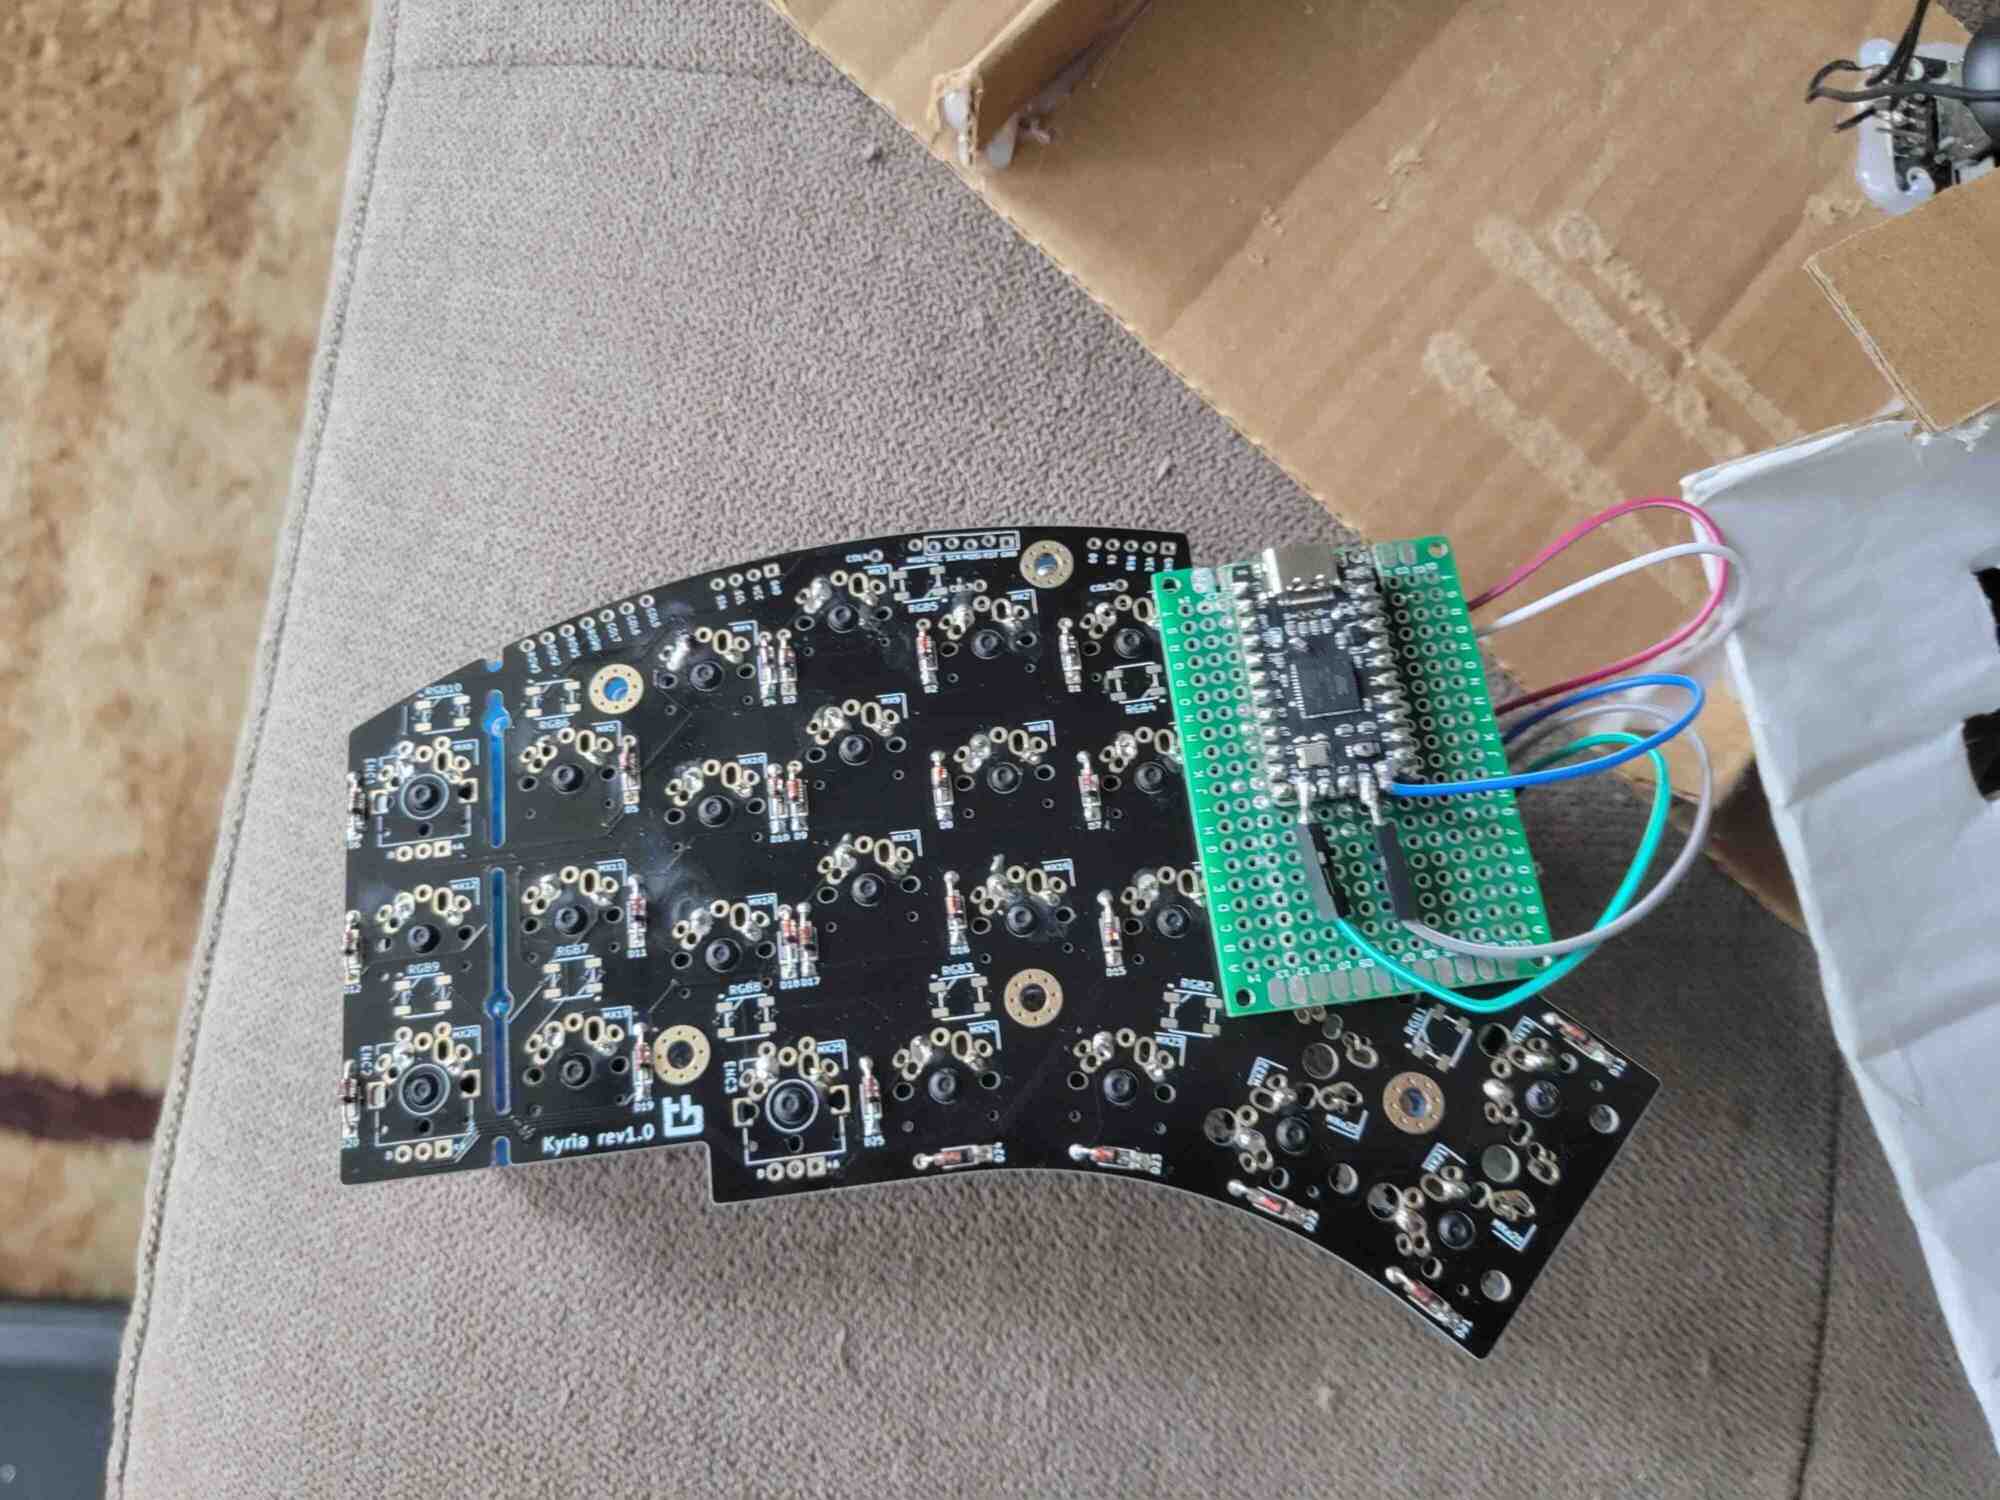
Unfortunately I couldn’t free the controller from the perfboard I used for the first prototype, so I ended up just soldering the controller to the bottom of the PCB. This mostly works since the rev1 PCBs were designed to use the same PCB for both the right and left sides.

This was done in the spirit of using the resources I had available instead of pushing the project further down the line - I knew that adding any delay to this project simply meant that it won’t happen. Unfortunately I forgot to put in the TTRS jack and the reset switch first, so it’s impossible to install those now…oops. Additionally, this prevents me from installing the backplate of the case unless I find some larger spacers. Instead, I plan on cutting through the pins, and soldering new ones on so i can install this correctly. Let’s hope that goes reasonably well.
Overall, this form factor feels pretty good. I could see myself actually using something like this (though I’m not sold on the 3x6 lifestyle yet, I kinda like having a number row). If I do end up using this, maybe a future version will use a lower profile joystick, maybe something more similar to the nintendo switch’s controller, or maybe even a 3DS style joystick. I’m still working on the firmware to interact with the joystick - currently I have QMK reading the joystick input and dumping it as a macro when a key is pressed. Not the best debugging setup I’ve ever had, but far from the worst. Hopefully the next update for this project will be sometime before 2028 :)
